Aluminium Prototype Guide: CNC Machining, Alloy Selection & Quality Verification
A Real Scenario
A German automotive supplier sent us a gearbox housing CAD. The drawing called for “aluminium, high strength.” No alloy specified, no surface finish standard, no tolerance annotations on non-critical features.
What is an aluminium prototype?
An aluminium prototype is a functional part machined from aluminium alloy to validate fit, form and function before production tooling is committed. Two grades cover roughly 90% of prototyping needs. 6061 has a yield strength of 276 MPa and is the default when you are verifying fit and form rather than pushing load limits. 7075-T6 has a yield strength of 503 MPa – near double – and is used when the part takes repeated impact, structural load, or will be tested to failure. Typical achievable CNC tolerances are ± 0.05 mm on features and ± 0.02 mm on bores, with an as-machined surface finish of Ra 0.8– 1.6µ m.
They had already burned 4 weeks and €3,200 with a local shop that couldn’t hold flatness on the mounting face. The parts warped during machining.
We asked three questions before touching the file:
1. Is this a fit-test prototype or a functional load test?
2. What bolts into the threaded holes — steel fasteners or aluminium?
3. What’s the assembly environment — outdoor, engine bay, clean room?
The answers changed everything. Instead of 6061 (their local shop’s default), we used 7075-T6. Instead of standard anodizing, we spec’d hard anodize with 50μm thickness for the mounting face. Instead of assuming ±0.1mm everywhere, we held ±0.02mm only on the dowel pin locations — saving machining time and cost.
The parts worked. First try. Five days from CAD to shipment.This guide covers what that German team learned the hard way.
Note: “aluminium” (UK) and “aluminum” (US) name the same material — both spellings appear below to match how buyers search for aluminium prototyping services.
The 2 Alloys That Matter
Two grades cover 90% of prototyping needs. The trick is knowing which fits your test objectives.
6061 Aluminium — The Workhorse
Yield strength: 276 MPa. Excellent machinability. Takes standard anodizing (Type II) beautifully. Weldable. Corrosion-resistant enough for most indoor and covered outdoor applications.
Use 6061 when: you’re verifying fit and form, not pushing load limits. Brackets, enclosures, mounting plates, heat sinks, most consumer product housings.Typical CNC tolerances achievable: ±0.05mm on features, ±0.02mm on bores. Surface finish as-machined: Ra 0.8-1.6μm.
Cost benchmark: A palm-sized 6061 part with 5 machined features typically runs $60-120 for a single prototype, including material.7075 Aluminium — The Athlete
Yield strength: 503 MPa — nearly double 6061. Comparable to mild steel in strength, at one-third the weight. Harder to machine (requires sharp tooling, slower feed rates). Not weldable by conventional methods. Costs 30-50% more than 6061.
Use 7075 when: your prototype takes repeated impact, structural load, or will be tested to failure. Aerospace brackets, bicycle suspension links, drone frames, racing components, high-stress robotics joints.Surface finish post-machining: Ra 0.8-1.6μm. Anodizing is possible but produces a slightly darker, less decorative finish than 6061.
Decision shortcut: If your part gets bolted on and stays there → 6061. If it takes impact, vibration, or load cycling → 7075. If you’re not sure, ask your manufacturer to review the FEA stress map with you. For a deeper material-selection walkthrough, see our custom aluminum CNC parts guide. → 6061. If it takes impact, vibration, or load cycling → 7075. If you’re not sure, ask your manufacturer to review the FEA stress map with you.CNC vs 3D Printing: A Practical Comparison

Both make aluminium parts. They solve different problems.
| Factor | CNC Machining | 3D Printing (DMLS/SLM) |
|——–|————–|————————|
| Surface finish | Ra 0.8-1.6μm | Ra 6-10μm (needs post-processing) |
| Tolerance | ±0.02-0.05mm | ±0.1-0.2mm |
| Material properties | Same as wrought | ~95% of wrought (slightly lower fatigue) |
| Cost (simple geometry) | $60-120 | $150-300 |
| Cost (complex geometry) | $200-500 | $150-300 |
| Threaded holes | Machined directly | Must be post-machined |
| Best for | Functional prototypes, production path | Complex organic shapes, topology-optimized |
Real scenario: A medical device startup needed 3 prototype surgical instrument handles. Complex ergonomic curves, but with M3 threaded inserts for assembly. They tried DMLS first — the thread areas needed secondary machining anyway, and the surface was too rough for sterilization testing. CNC from 6061 solved both problems in one process, at half the cost.Rule of thumb: If your part has flat faces, holes, threads, or will eventually be CNC-machined in production → prototype with CNC. If it has organic, bone-like structures that can’t be machined → 3D print. If your prototype may end up cast at scale, compare aluminum CNC machining vs casting first. → prototype with CNC. If it has organic, bone-like structures that can’t be machined → 3D print.Quality Verification: 5 Things to Check Before Your Prototype Ships
Most overseas buyers accept “looks good” photos as inspection. Don’t.
1. CMM Dimensional Report
Request a Coordinate Measuring Machine report on features you’ve marked as critical. A real report shows:
- Feature number matching your drawing callout
- Nominal dimension vs actual measured value
- Deviation in mm
- Upper/lower tolerance limits
- Pass/fail per feature
If your supplier cannot produce this, they are doing visual inspection — not measurement. See what we actually hold on the floor: China CNC machining tolerances — real CMM data.
2. Surface Finish Data
“As machined” is not a specification. Neither is “smooth.” Specify Ra (roughness average) in μm or μin:
- Standard CNC finish: Ra 0.8-1.6μm
- Fine finish (pre-anodize): Ra 0.4-0.8μm
- Mirror polish: Ra <0.1μm
Request a profilometer reading on one critical surface. It takes 30 seconds.
3. Material Certificate
For 7075 and other high-performance alloys, request the mill certificate (EN 10204 3.1 or equivalent). This traces the material back to the smelter and confirms chemical composition and mechanical properties.
For 6061 from common stock, a certificate is less critical — but still worth requesting if your part is safety-related.
4. Photo Approval Before Shipping
Get three standardized angles:
1. Top-down overview
2. Close-up of the most critical feature
3. Thread check (with a gauge inserted, if applicable)
This catches 80% of issues: wrong surface finish, missed features, tool marks, obvious dimensional errors.
5. Thread Gauge Verification
The #1 overseas defect we see: wrong thread specification. M6 tapped when the drawing called for 1/4″-20 UNC. Or vice versa.
Specify metric vs imperial explicitly. If your drawing is ambiguous, add a note: “ALL THREADS METRIC UNLESS MARKED OTHERWISE.”
China Sourcing Reality
Chinese aluminium prototyping costs 40-60% less than US/EU equivalents for comparable quality. Lead times run 3-7 days for standard parts vs 7-14 days domestically.
The trade-off is communication overhead, not quality. The shops that produce good work exist — you just need to find them before sending money. The five verification checks above are your filter.
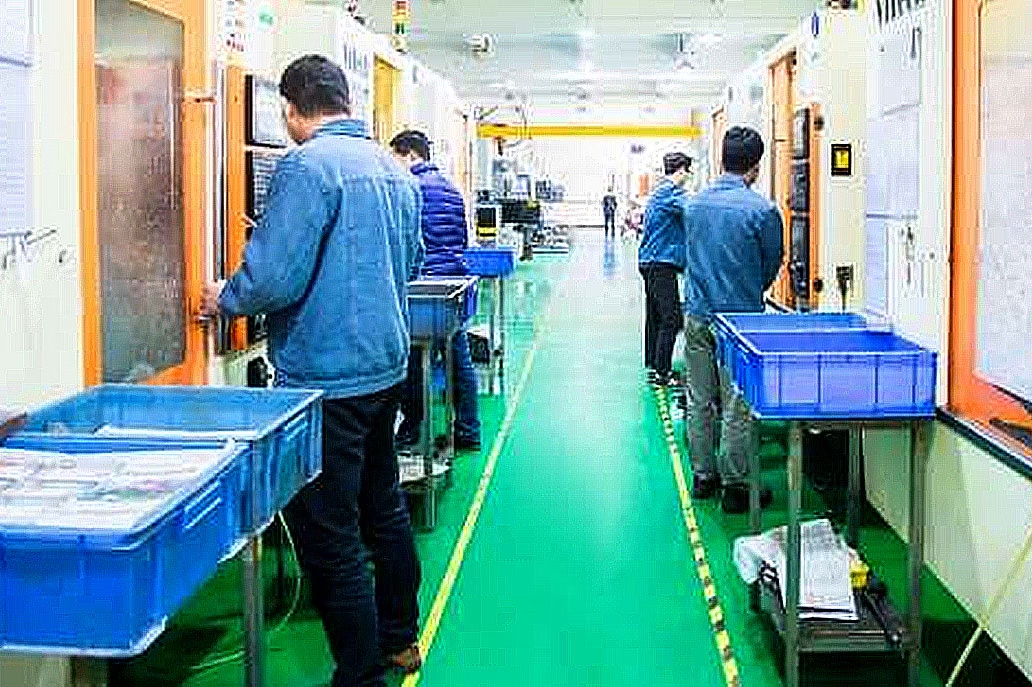
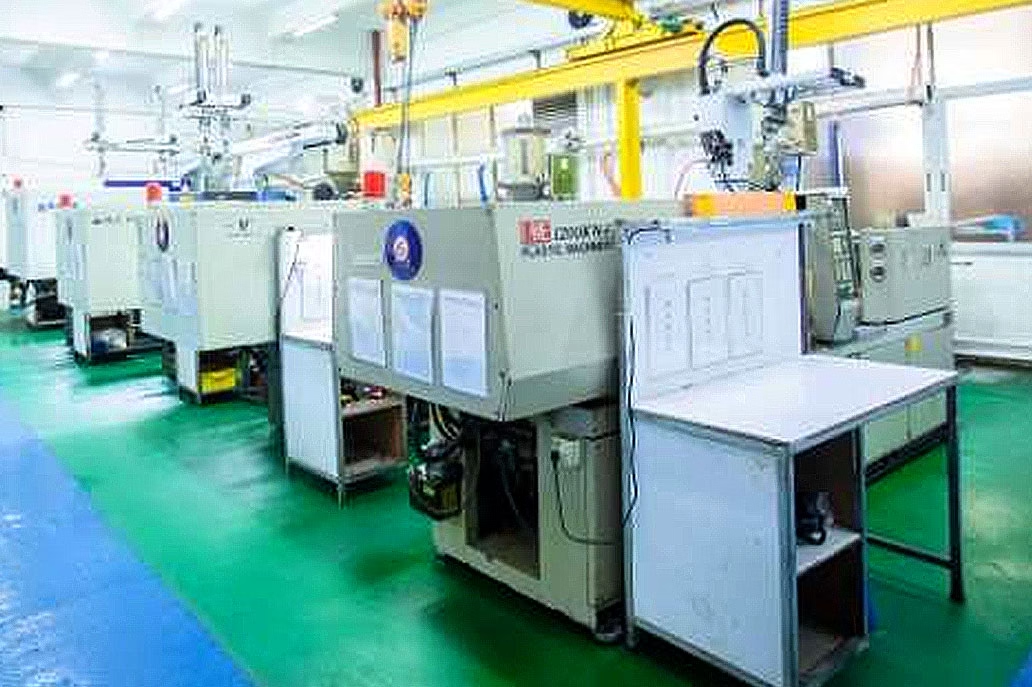
One factory video call showing machines running, QC equipment, and material storage is worth 50 emails of back-and-forth.
Common questions about aluminium prototyping, CNC processes and MOQ: QDJ rapid prototyping FAQ.
Get a quote with free DFM feedback and a sample CMM report from a previous project. [Upload your CAD →](/en/contact/)Aluminium prototyping: key numbers at a glance
These are the figures that drive alloy choice, cost and inspection on an aluminium prototype.
- 6061 yield strength: 276 MPa — the workhorse grade for fit-and-form verification
- 7075-T6 yield strength: 503 MPa — nearly double 6061, for impact, vibration and load cycling
- Typical CNC tolerances: ± 0.05 mm on features, ± 0.02 mm on bores
- As-machined surface finish: Ra 0.8– 1.6µ m
- Cost benchmark: a palm-sized 6061 part with five machined features typically runs 60-120 USD for a single prototype, material included
- Hard anodize thickness: 50µ m when wear resistance matters on a mounting face
- Decision shortcut: bolted on and stays there, use 6061; takes impact, vibration or load cycling, use 7075
Tighter tolerance is not automatically better. Holding ± 0.02 mm only at the dowel pin locations, and relaxing elsewhere, saves machining time and cost without affecting function.
Aluminium prototyping: frequently asked questions
What is the difference between 6061 and 7075 aluminium for prototypes?
6061 has a yield strength of 276 MPa and is the default for verifying fit and form. 7075-T6 has a yield strength of 503 MPa — nearly double — and is chosen when the prototype takes repeated impact, structural load, vibration, or will be tested to failure. The practical shortcut: if the part gets bolted on and stays there, 6061 is enough. If it takes impact, vibration or load cycling, use 7075. One caveat: anodizing 7075 produces a slightly darker, less decorative finish than 6061.
How tight can CNC tolerances be on an aluminium prototype?
Tolerances achievable in normal production are ± 0.05 mm on features and ± 0.02 mm on bores, with as-machined surface finish of Ra 0.8– 1.6µ m. Tighter bands are possible on specific features, but applying a tight tolerance everywhere raises cost without improving function. The cost-effective approach is to hold tight tolerance only where it matters — for example ± 0.02 mm at dowel pin locations — and specify a general tolerance elsewhere.
How much does an aluminium prototype cost?
As a working benchmark, a palm-sized 6061 part with five machined features typically runs – 120 for a single prototype including material. Cost is driven by feature count, tolerance band, surface finish and alloy. Two quotes for the same part are only comparable when each one states the alloy grade, the tolerance band per feature, and the surface finish specification.
Should I 3D print or CNC machine an aluminium prototype?
Both processes produce aluminium parts, and the choice follows geometry and function. CNC machining suits parts with prismatic features, precise bores and threads — for example an enclosure with ergonomic curves plus M3 threaded inserts for assembly, where machining solved both geometry and thread requirements in one process at lower cost than a multi-part printed assembly. 3D printing is the better route when the part has organic, bone-like internal structures that cannot be machined. The decision is geometric first, then economic.
What should I check before my aluminium prototype ships?
Five items, all documented: (1) a CMM dimensional report against the drawing; (2) surface finish data measured against the specified Ra; (3) a material certificate confirming the alloy grade you paid for; (4) photo approval before shipping; (5) thread gauge verification for every threaded feature. Photos alone are not inspection — a part that looks correct can still miss flatness or bore tolerance, which is exactly the failure mode that costs weeks of rework.
What surface finish should I specify?
Start from the process default: Ra 0.8– 1.6µ m as-machined. Specify tighter finish only on cosmetic or sealing surfaces, because polishing adds cost on every part. If the part needs wear resistance on a specific face, hard anodize at 50µ m thickness is the specified treatment for that face rather than a cosmetic anodize across the whole part.
Why does drawing detail matter more than supplier choice?
An underspecified drawing is the most common cause of prototype failure. A drawing that says only “aluminium, high strength” — with no alloy, no surface finish standard and no tolerance annotations on non-critical features — leaves the supplier guessing. Specifications that would have prevented rework are the alloy grade, the tolerance band per feature class, and the surface finish standard. Detailed drawings let suppliers quote accurately and machine correctly the first time.